Drop Ceiling Tiles Installation Services for Property Owners
This page helps property owners learn about drop ceiling tile installation services and compare local contractors who handle the work.
- - Commercial property owners seeking to upgrade office or retail spaces with drop ceiling tiles.
- - Residential homeowners planning to improve basement, garage, or home office ceilings.
- - Contractors and property managers looking to connect with local pros for drop ceiling tile installation projects.


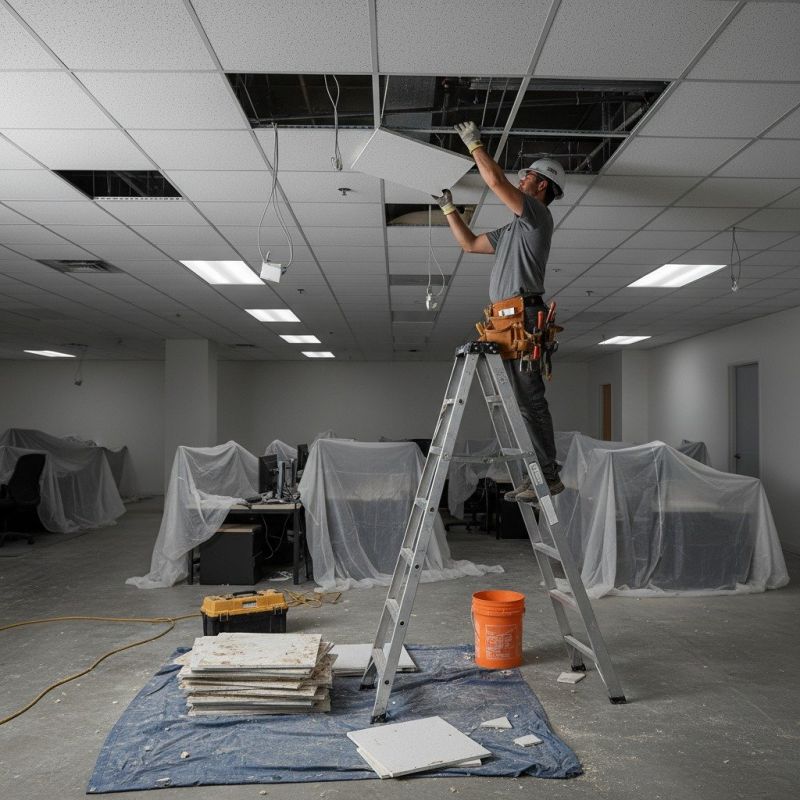
Drop ceiling tile installation is a common solution for improving the functionality and appearance of interior spaces, especially in commercial buildings, offices, and basements. Local contractors who specialize in this service handle tasks such as measuring, framing, and installing suspended ceiling systems, often working with a variety of tile styles and grid configurations. Property owners seeking this work typically look for experienced professionals who can efficiently manage the installation process, ensuring that the ceiling tiles are properly aligned and securely in place to create a finished look that meets their needs.
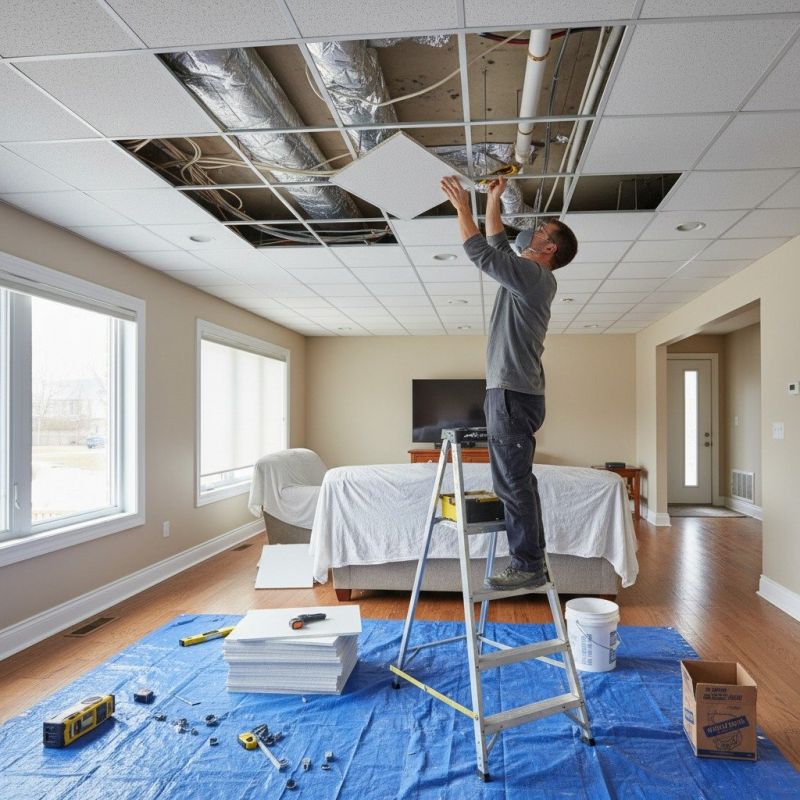
Connecting with local pros who offer drop ceiling tile installation can help property owners find the right expertise for their specific project. These service providers are familiar with different types of ceiling tiles and installation techniques, making it easier to achieve a durable and visually appealing result. Whether upgrading an existing ceiling or installing a new suspended system, local contractors can provide the necessary skills to complete the work effectively, helping property owners improve their space with minimal hassle.
This guide provides helpful information to compare and connect with local contractors experienced in drop ceiling tile installation. It aims to assist in understanding project options and preparing to discuss job details with qualified service providers. The goal is to support informed decisions by highlighting key considerations for working with local professionals.